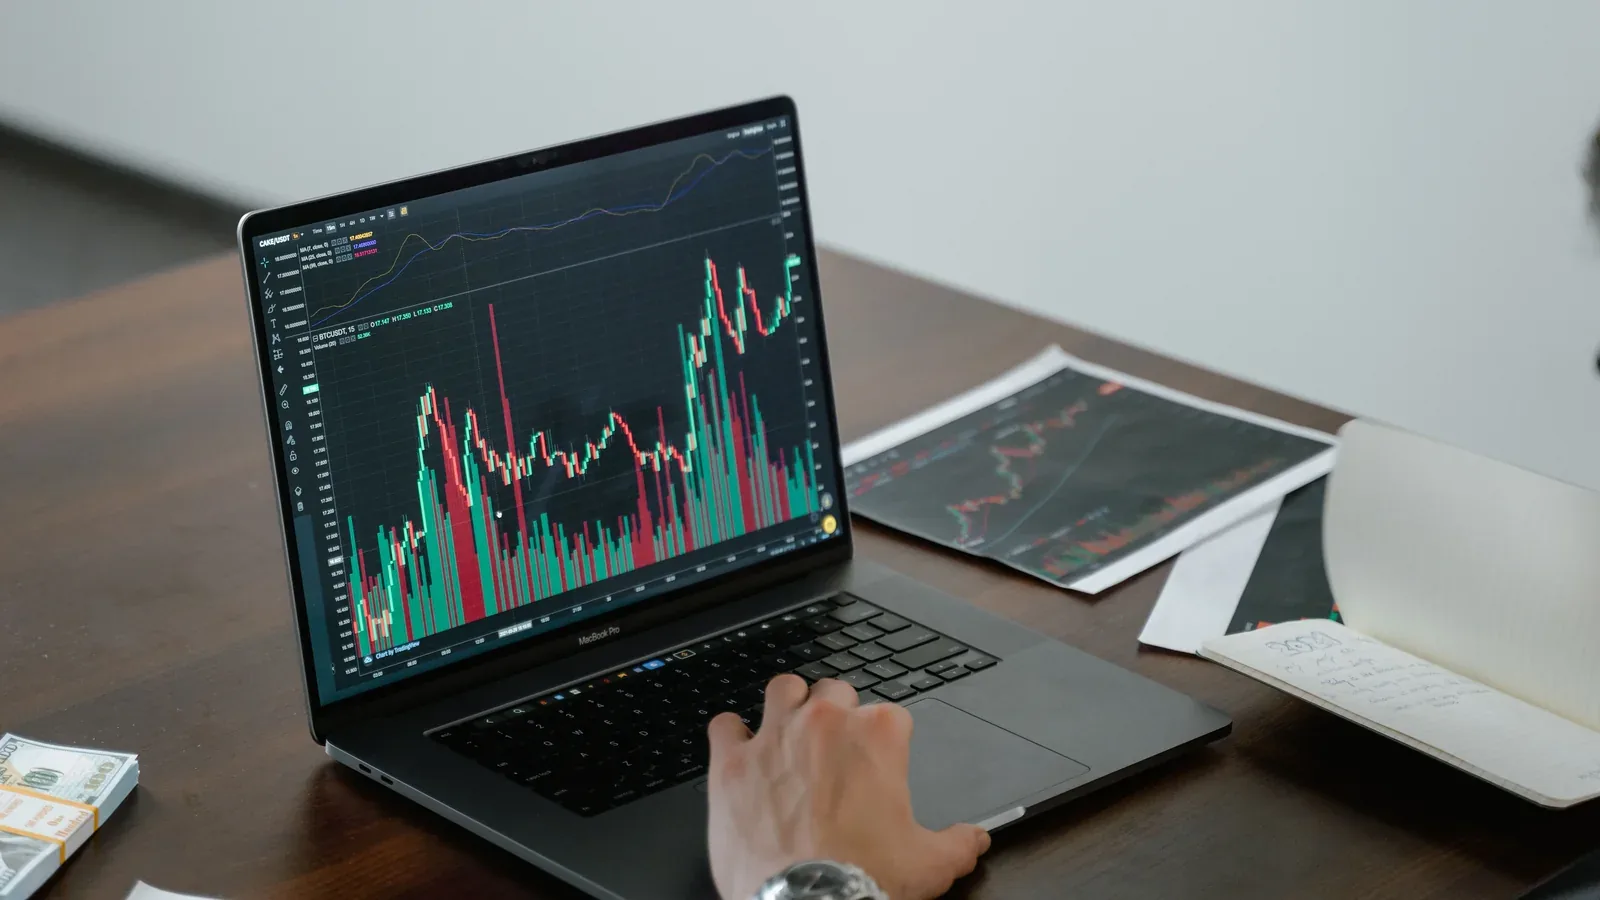
Multi-Timeframe Trading Analysis: How M1, M5, M15 and H1 Work Together
More timeframes do not automatically mean better decisions. The key is assigning each timeframe a clear job so short-term timing stays aligned with broader context.

Multi-Timeframe Trading Analysis: How M1, M5, M15 and H1 Work Together is best understood through a practical operating question: what information does the system use, what decision is it trying to make, and what prevents a bad decision from becoming uncontrolled exposure? This guide focuses on multi-timeframe trading analysis where each timeframe has a defined responsibility instead of every chart competing to produce a signal. It is written for short-term traders and system developers who need fast M1 decisions without ignoring higher-timeframe context. The goal is not to promise a profitable formula. The goal is to make the moving parts visible so that a reader can evaluate architecture, testing and risk with more precision.
In automated trading, the quality of a result is rarely determined by one indicator or one model score. Data can be stale, spreads can widen, brokers can reject requests, market regimes can change and parameters can behave differently outside the sample used for testing. A useful framework therefore separates analysis from permission: the system may identify an opportunity while a different layer decides that conditions are not safe enough to act.
That separation also improves accountability. When a platform can explain the market context, the model or rule that produced an idea, the strategy version that interpreted it and the risk gate that allowed or blocked execution, operators can diagnose behavior instead of guessing. Throughout the sections below, treat every feature as part of a chain. A chain is only reliable when its weakest link is observable and bounded.
Why multiple timeframes help
A one-minute chart shows detailed timing but can hide the broader structure. Higher timeframes compress noise and make trend, range boundaries and major volatility transitions easier to see. The practical implication is that the system should make this assumption explicit in configuration and logs. If an operator cannot tell which input or rule produced a state, troubleshooting becomes subjective. A production design should expose the relevant values, the timestamp of the data and the version of the component that interpreted them.
A useful way to test this part of multi-timeframe trading analysis is to write down the exact inputs it consumes and the exact output it is allowed to produce. For “Why multiple timeframes help”, record the timestamp, market state, account state and strategy version alongside the decision. That makes it possible to separate a bad market assumption from a software or execution problem instead of changing several parameters at once.
The operational question is what should happen when the assumptions behind “Why multiple timeframes help” stop being true. Define a safe fallback before live trading: wait, reduce scope, cancel a planned action, or require human review. A controlled system should fail toward lower exposure rather than creating new exposure simply because data, connectivity or market conditions become unusual.
Give each timeframe one job
For example M1 can handle execution timing, M5 can confirm immediate direction, M15 can describe intraday structure and H1 can provide broader bias or danger zones. Clear roles prevent voting chaos. The practical implication is that the system should make this assumption explicit in configuration and logs. If an operator cannot tell which input or rule produced a state, troubleshooting becomes subjective. A production design should expose the relevant values, the timestamp of the data and the version of the component that interpreted them.
For “Give each timeframe one job”, measurement should come before optimization. Decide which metric would prove the layer is helping: latency, rejection rate, slippage, false signals, missed moves, spread cost, drawdown contribution or time spent in an uncertain state. Without a measurable target, a team can improve a dashboard number while making the actual trading process less reliable.
Compare normal and stressed conditions separately. A rule that looks efficient in a calm period may behave very differently around fast price changes, widened spreads or thin liquidity. Replay representative sessions and log both the decision and the reason it was permitted. The goal is not to make every scenario profitable; it is to make behavior predictable and bounded.
M1: execution and microstructure
M1 is useful for the exact break, pullback, spread condition and short-term momentum. It is also the noisiest layer, so it should not redefine the whole market on every candle. The practical implication is that the system should make this assumption explicit in configuration and logs. If an operator cannot tell which input or rule produced a state, troubleshooting becomes subjective. A production design should expose the relevant values, the timestamp of the data and the version of the component that interpreted them.
The strongest implementation of “M1: execution and microstructure” usually has an explicit state rather than being hidden inside a long chain of conditions. When the state changes, save the previous state, new state, trigger and relevant values. This gives operators a timeline they can inspect after an unexpected trade and prevents multiple components from silently reaching contradictory conclusions.
A practical review should also ask who owns the final permission. Analysis can suggest an action, but execution and risk layers need the ability to refuse it. That separation is especially important for multi-timeframe trading analysis, because a high-quality signal can still be unsuitable for the current account, spread, exposure or broker constraints.
M5 and M15: context and confirmation
These frames help distinguish a true directional move from local noise. They are useful for EMA structure, volatility compression, range expansion and whether an M1 break has room to continue. The practical implication is that the system should make this assumption explicit in configuration and logs. If an operator cannot tell which input or rule produced a state, troubleshooting becomes subjective. A production design should expose the relevant values, the timestamp of the data and the version of the component that interpreted them.
Treat “M5 and M15: context and confirmation” as a hypothesis that must survive more than one dataset. Validate it across different volatility regimes and include periods where the expected pattern did not work. Keep test data separate from tuning data and record parameter changes. This reduces the chance that an attractive historical result is mainly the product of repeated adjustment to one period.
After deployment, compare live observations with the assumptions used during validation. If fill quality, spread, latency or market regime moves outside the tested range, the system should surface that drift. A mature multi-timeframe trading analysis workflow does not assume a backtest remains valid forever; it continuously checks whether the environment still resembles what was tested.
H1: broader structure, not a slow trigger
H1 can highlight major direction, support/resistance and volatility regime without forcing a short-term system to wait for an hourly candle close before every action. The practical implication is that the system should make this assumption explicit in configuration and logs. If an operator cannot tell which input or rule produced a state, troubleshooting becomes subjective. A production design should expose the relevant values, the timestamp of the data and the version of the component that interpreted them.
For “H1: broader structure, not a slow trigger”, broker and platform specifications are part of the logic, not background details. Point size, lot step, minimum volume, stop distance, trading session, margin model and order policy can change the result of the same strategy idea. Read these values at runtime where possible and include them in diagnostics so the same code does not silently behave differently across accounts.
Test the failure path deliberately. Reject an order, disconnect the network, restart a service and feed stale data in a controlled environment. Confirm that multi-timeframe trading analysis resumes from a known state rather than duplicating orders or forgetting existing exposure. Recovery from operational failure is a separate capability from recovery from market movement, and the two should not be mixed.
Avoid indicator duplication across frames
Putting the same indicator on four timeframes can create redundant confirmation. Use features that answer different questions: direction, strength, location, volatility and execution quality. The practical implication is that the system should make this assumption explicit in configuration and logs. If an operator cannot tell which input or rule produced a state, troubleshooting becomes subjective. A production design should expose the relevant values, the timestamp of the data and the version of the component that interpreted them.
The decision around “Avoid indicator duplication across frames” should include cost, not only direction. Spread, commission, slippage and the distance available before a likely reversal can turn a statistically reasonable idea into a poor trade. Recording expected cost before execution and actual cost afterward provides a feedback loop that pure signal accuracy cannot offer.
This is also where user-visible explanations matter. If the system waits because cost or risk is too high, show that reason instead of displaying a generic idle state. Transparent WAIT and BLOCK states make multi-timeframe trading analysis easier to supervise and reduce the temptation to weaken safeguards simply because the platform appears inactive.
Handling disagreement between timeframes
Disagreement is information. The system can reduce size, wait for a break, require stronger evidence or switch from trend-following to range behavior instead of forcing a binary vote. The practical implication is that the system should make this assumption explicit in configuration and logs. If an operator cannot tell which input or rule produced a state, troubleshooting becomes subjective. A production design should expose the relevant values, the timestamp of the data and the version of the component that interpreted them.
Security and permissions should be designed into “Handling disagreement between timeframes” from the beginning. Give each component only the access it needs, keep secrets out of logs, and separate read permissions from trade permissions where the integration allows it. An automation platform should make it difficult for a monitoring component to accidentally acquire the same authority as an execution component.
Auditability completes that design. Store who or what changed a setting, when it changed, the previous value and the version that used the new value. For multi-timeframe trading analysis, this matters because a result can be caused by configuration drift just as easily as by market movement. A reproducible audit trail turns troubleshooting into evidence-based work.
Building a multi-timeframe decision score
A score should preserve hierarchy. Fast evidence can trigger timing while higher frames adjust confidence, expected move and risk. The score should be explainable so operators know which timeframe changed the decision. The practical implication is that the system should make this assumption explicit in configuration and logs. If an operator cannot tell which input or rule produced a state, troubleshooting becomes subjective. A production design should expose the relevant values, the timestamp of the data and the version of the component that interpreted them.
Finally, evaluate “Building a multi-timeframe decision score” from the user’s point of view. The interface should expose the information needed for a decision without forcing the user to understand every internal calculation. Show status, risk, connection health, active strategy, current exposure and the reason for important actions, while keeping advanced diagnostics available when deeper investigation is required.
The best production criterion is controlled change. New models, rules or parameters should be versioned, tested, rolled out deliberately and reversible. If an update to multi-timeframe trading analysis cannot be compared with the previous version or rolled back safely, the platform is relying on hope rather than an operating process.
Practical workflow for implementation
Start with a written operating policy before code or configuration. Define the market and account inputs, the decision output, the conditions that block action, and the state that should be displayed to the user. Then build the smallest version that can log every transition. Add complexity only when a specific measurement shows why the extra layer is needed. This approach reduces the common problem where an automated system becomes complicated faster than it becomes understandable.
Metrics worth monitoring
Useful monitoring combines market, execution, account and system metrics. Market metrics may include volatility, spread and regime. Execution metrics include requested versus actual fill, rejection reason and latency. Account metrics include balance, equity, margin level, directional exposure and drawdown. System metrics include data freshness, API availability, model version and strategy state. The exact set varies by architecture, but every metric should answer a decision question rather than exist only because it is easy to collect.
Common mistakes to avoid
A recurring mistake is to solve every problem by adding another indicator, threshold or recovery rule. More rules can hide a weak operating model and make interactions difficult to test. Another mistake is to treat a backtest or a high confidence score as permission to ignore execution risk. A third is to hide waiting or blocking behavior from the user, which makes a safe system look broken and encourages unnecessary manual intervention. Prefer fewer rules with explicit reasons, deterministic priorities and clear logs.
Checklist before live use
- Confirm symbol, account and broker specifications at runtime rather than relying on assumptions from another environment.
- Verify that every new exposure passes spread, margin, schedule, duplicate-position and risk checks.
- Confirm that emergency stop and normal stop have documented scope and can be tested without ambiguity.
- Record model, strategy and client versions with decisions so behavior can be reproduced later.
- Test reconnects, restarts, rejected orders, stale data and unusually volatile periods before increasing live scope.
- Review whether the user can understand the current state and reason for WAIT, BLOCK, ENTRY, MANAGE or CLOSE.
Frequently asked questions
Does more automation automatically reduce risk?
No. Automation reduces some forms of manual inconsistency but can scale a bad assumption very quickly. Risk decreases only when the automated process includes independent limits, monitoring and tested failure behavior.
Is a high model confidence enough to enter a trade?
No. Confidence is one input. Execution cost, market regime, account state, exposure and data quality can all justify waiting even when a model score is high.
Should every safety rule be inside the AI model?
No. Core safety controls should remain deterministic and independent so they continue to work even if a model is unavailable, miscalibrated or upgraded.
What is the most useful sign of a mature system?
Observability. A mature system can explain what state it is in, what data it used, which rule or version acted, what risk gate was applied and what the broker returned.
Conclusion
The most useful way to think about multi-timeframe trading analysis is as an operating discipline rather than a feature label. Good systems combine clear roles, measurable limits, realistic testing and user control. They do not assume that prediction accuracy can compensate for weak execution or that automation can remove market risk. If each layer is versioned, monitored and allowed to fail safely, the overall platform becomes easier to improve without turning every change into a new source of uncertainty.